Once your cause is registered with iDonate, you can set up Event/Campaign Pages to start raising funds.
An Event/Campaign Page is suitable for specific events or campaigns that have a temporary duration. For example you might set up an Event/Campaign Page for your cause’s upcoming challenge or for a fundraising event like the Mini Marathon.
The Event/Campaign Page acts as the hub for the campaign and is the first stop for supporters. After landing on the Event/Campaign page they can find out more about the campaign, click a button to donate to the campaign, or click a button to start their own fundraising page for the campaign. All fundraising pages will be displayed on the Event/Campaign page, along with a leaderboard.
Before setting up your Event/Campaign Page, we recommend consulting our checklist below, to ensure that your page is set up correctly and is ready to share with supporters!
1. Bookmark Your Cause Admin Panel Login Link
Your Cause Admin Panel is the place where you set up Event/Campaign pages. It’s also where you can edit your events, add team pages, view fundraisers, access reporting and much more.
To set up your event/campaign just select the Events/Campaigns/Teams tab on the green menu and select ‘Add Event’. Then fill in all of your event details, before clicking save. Once you have saved your event, you can access the link to your Event/Campaign page.
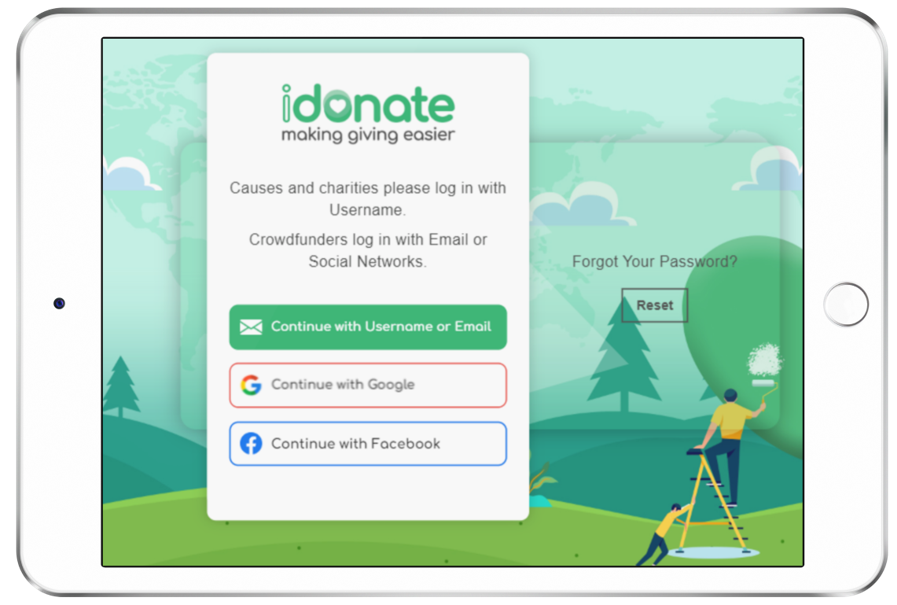
Before setting up your event, we recommend bookmarking the link for your Cause Admin Panel (https://causeadmin.idonate.ie/login) as you will need to access it throughout your campaign. If you require assistance with your login details contact [email protected].
2. Ensure your images are the correct size!
Before setting up your event, be sure to consult iDonate’s image specifications so that your images display correctly on your fundraising pages.
If you upload images that do not match these recommended dimensions, your images may be cropped, blurred or obscured by the page templates. Your fundraising page is generally the first stop for supporters, so make sure that it makes a good first impression!
Please see the recommended image dimensions for iDonate pages below:
Event/Campaign Page banner – 2100x600px
Event/Campaign Page Mobile banner – 1000x1000px
Fundraiser Page banner – 1920x1080px

3.Have your event description ready & include a call to action!
When setting up an Event/Campaign Page, you will be asked to provide a description about the event/campaign, which will appear on your page. We recommend drafting this copy before you set up your event, so that you have it ready to paste in the box.
Your event description should speak to those who will be visiting your page and give them information about your fundraiser – for example what the campaign is about, where and when the event is taking place and why these funds are needed. It is also important to highlight how supporters can get involved – e.g. donate or click the button to start a fundraising page.
This is your opportunity to engage supporters, so dedicate some time to this section!
And once your event is set up…..
1. Remember that you can edit your target at any time!
You can edit your fundraising target at any time, so we recommend choosing a target that’s challenging yet obtainable to begin with. As the campaign progresses you can then increase this target, for example if you are close to exceeding it before the campaign is due to end. Increasing the target at this point can help encourage more donations, helping you to raise more from your campaign.
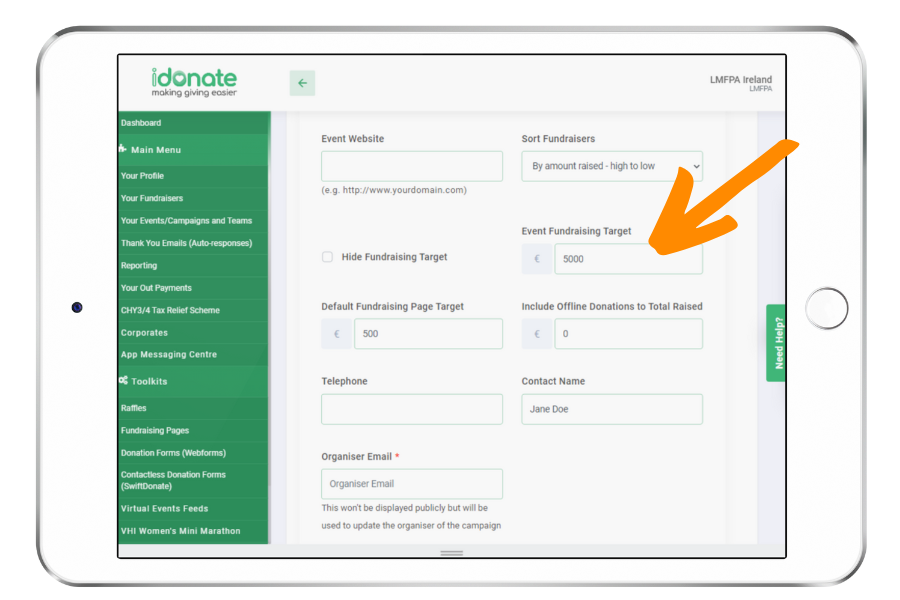
To edit your target, just login to your Cause Admin Panel, click on ‘Events/Campaigns/Teams’ and click ‘List Events’. Then click the edit button (pencil icon) beside the event that you want to edit.
Scroll down to the target, type in your new target and click save. The target on your fundraising page will update within ten minutes.
2. Familiarise yourself with the fundraiser set up process
Once your event is live, familiarise yourself with the fundraiser setup process, so that you can advise supporters on what to do.
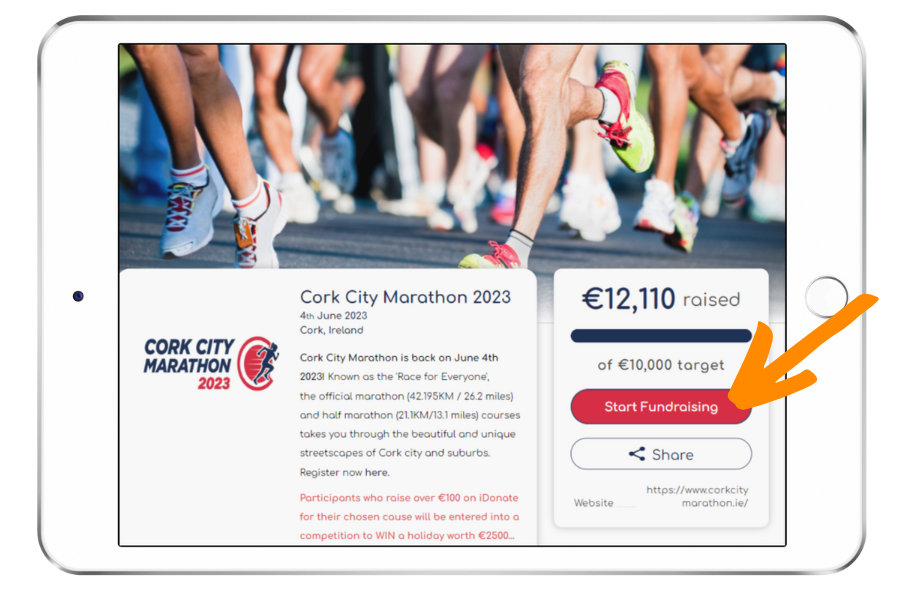
To create a fundraising page on your Event/Campaign page, supporters will need to click the ‘Start Fundraising’ button and fill in their name/group name and email address. They will then be asked to agree to terms and conditions before clicking ‘Create my page’.
After clicking this button, they will receive an email from iDonate, asking them to activate their page. Once they click on the activation link provided, their page will be live and ready to start using. iDonate will also send the fundraiser the login details for their Fundraiser Dashboard, where they can edit and manage their personal fundraising page.
We recommend setting up and activating a page for yourself first, so that you go through the process and understand how it works.
3. Use the share button to share your page or download a QR code
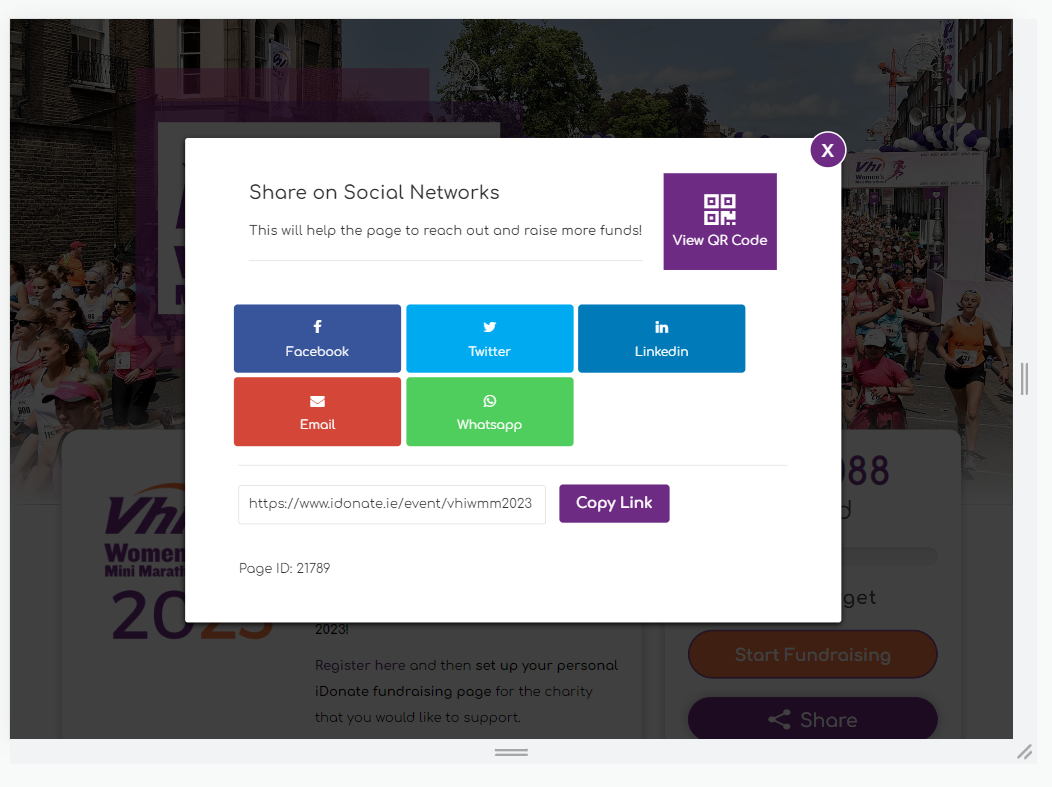
When you’re ready to start promoting your campaign, check out the share button on your Event/Campaign page which will enable you to share it via social media, email and WhatsApp.
The share button also provides the option to download a QR code, which will link directly to your page. You can then print this QR code on posters, leaflets or mailouts so that supporters can visit your page easily.
We hope that you find this checklist useful! If you require support with setting up an event please contact [email protected]
Best of luck with your campaign!